The recipe aims for set golden edges and a center that stays soft after cooling. A short test bake is more informative than trying to correct the entire bowl after a tray spreads unexpectedly.
Brown Butter Chocolate Chip Cookies
Includes at least 1 hour dough chilling and 10 minutes cooling on the tray. The 10–12 minute bake is per oven load; add time if baking trays successively.
Planning totals add preparation, cooking and listed waits. Overlapping stages may shorten the schedule; ingredient and equipment differences can lengthen it.
Ingredients
For fractional eggs, beat an extra egg or yolk and measure the required fraction.
Times and base yield refer to the original recipe. Scaling quantities does not automatically change pan size, temperature or cooking time.
Step-by-step method
The steps describe the base batch (16 servings). The calculator changes the ingredient list only; amounts written in the steps, equipment and timing remain for that base batch.
Step 1
Cook butter over medium heat until milk solids turn golden and smell nutty, then cool to warm.
Step 2
Beat butter with both sugars, then mix in egg, yolk and vanilla.
Step 3
Fold in flour, bicarbonate and salt just until combined, then add chocolate.
Step 4
Chill dough for at least one hour and portion into 16 even balls.
Step 5
Bake spaced well apart at 180°C / 356°F for 10–12 minutes until edges are set and centers still soft.
Step 6
Leave on the tray for 10 minutes before moving to a rack.
Why this version works
Stop browning when the milk solids are golden
Butter first melts, then foams as water evaporates. Watch the small milk solids at the bottom rather than judging only the foam on top. Stir or swirl so they color evenly and transfer to a heatproof bowl when they smell nutty and look golden brown. Leaving butter in the hot saucepan continues the cooking after the burner is off. Blackened solids introduce bitterness that vanilla and sugar will not repair, so do not treat darker as automatically more flavorful.
Let the browned butter cool before the eggs enter
Warm fluid butter mixes easily with sugar, but very hot fat can cook egg on contact. The mixture should be comfortably warm rather than steaming. Brown sugar contributes moisture and a deeper flavor, while caster sugar helps a different spread and edge texture. Replacing all of either changes the cookie. The extra yolk gives richness without adding another whole egg white, which would alter the water and protein balance.
Weigh flour and stop mixing at the right point
The 230 g flour quantity should be weighed rather than packed tightly into a cup. Add the dry ingredients and fold only until no large flour pockets remain, then distribute the chopped chocolate. Long beating at this stage encourages a tougher dough. Chocolate chunks of mixed sizes produce small melted flecks as well as larger pockets. Keep pieces small enough that each cookie can hold them without falling apart, and reserve an especially large piece for a different use rather than forcing it into one portion.
Use chilling to manage spread
An hour of refrigeration firms the fat and allows flour to hydrate. Dough that is warm and shiny may spread before its structure sets, even if the ingredient weights are correct. Portion into sixteen consistent balls and leave generous gaps. If baking in two rounds, keep the second batch chilled while the first cooks. Never put fresh dough onto a still-hot tray, which starts melting its underside before it enters the oven.
Read the edge and allow tray cooling
At 180°C / 350°F, begin checking around the earlier end of the stated range. The edge should look set and lightly colored while the center still appears softer. The tray continues transferring heat after removal, so ten minutes of undisturbed cooling is part of the method. A cookie baked until rigid throughout often becomes hard once cool. Pale and dark trays behave differently; judge the underside of a cooled test cookie before changing the timing for every subsequent batch.
Keep dough-ball size connected to the checking window
The batch is divided into sixteen substantial portions, so weigh the mixed dough and divide that total rather than guessing sixteen very different balls. Leave enough tray space for the actual portions and bake in separate loads if necessary. The quoted interval is a checking window, with the edges and center providing additional information; a larger ball may need longer. Cool the browned butter to the stage described before mixing eggs, and keep the tray rest separate from oven time. Moving cookies too soon can break a correctly baked soft center before it firms.
Ingredient choices and substitutions
Choose chocolate you enjoy eating, with a moderate to high cocoa content for contrast. Use plain flour and weigh it rather than packing a measuring cup. Fresh bicarbonate helps the cookies spread and color predictably.
Fixes for this recipe
| What you notice | Likely reason | What to do |
|---|---|---|
| Cookies spread into one thin sheet | Dough or tray was too warm, flour was short or portions were crowded. | Chill the remaining dough, use a cool tray and test one cookie with ample space. Check the flour weight before adding a large extra handful. |
| The centers are dry after cooling | The tray stayed in the oven until the centers looked fully firm. | Remove the next batch while centers remain soft and let them set on the tray. Baking shorter is more useful than adding syrup to a finished dry cookie. |
| The brown butter tastes bitter | The milk solids continued cooking past a golden nutty stage. | Make a fresh batch of browned butter. Transfer it out of the hot pan promptly; scorched flavor cannot reliably be covered with extra chocolate. |
Recipe-specific questions
Can chocolate chips replace chopped chocolate?
Yes, though many chips are designed to hold their shape and produce different melted pockets. Use the same total weight and distribute evenly. Choose chocolate whose flavor you enjoy on its own rather than assuming a very high cocoa percentage is always better in this dough.
Can I bake the dough without chilling?
The result will usually spread differently and the recipe timing becomes less predictable. If you must bake immediately, test a single cookie first and accept a different shape. The stated method is built around a chilled dough, not an optional decorative rest.
Is it safe to taste the raw dough?
No. Both raw egg and uncooked flour can carry hazards. Assess sweetness from the ingredient balance and taste a baked cooled test cookie instead. Freezing raw dough does not make it safe to eat uncooked.
Serving and storage
Serve with milk, unsweetened tea or coffee. A smaller portion lets the contrast between dark chocolate, nutty butter and lightly salted dough remain clear.
Let cookies cool completely before sealing so condensation does not wet the edges. Freeze unbaked portions individually if planning future batches, then bake from chilled or frozen with timing adjusted by observation. Keep raw dough away from ready-to-eat food and bake it before eating.
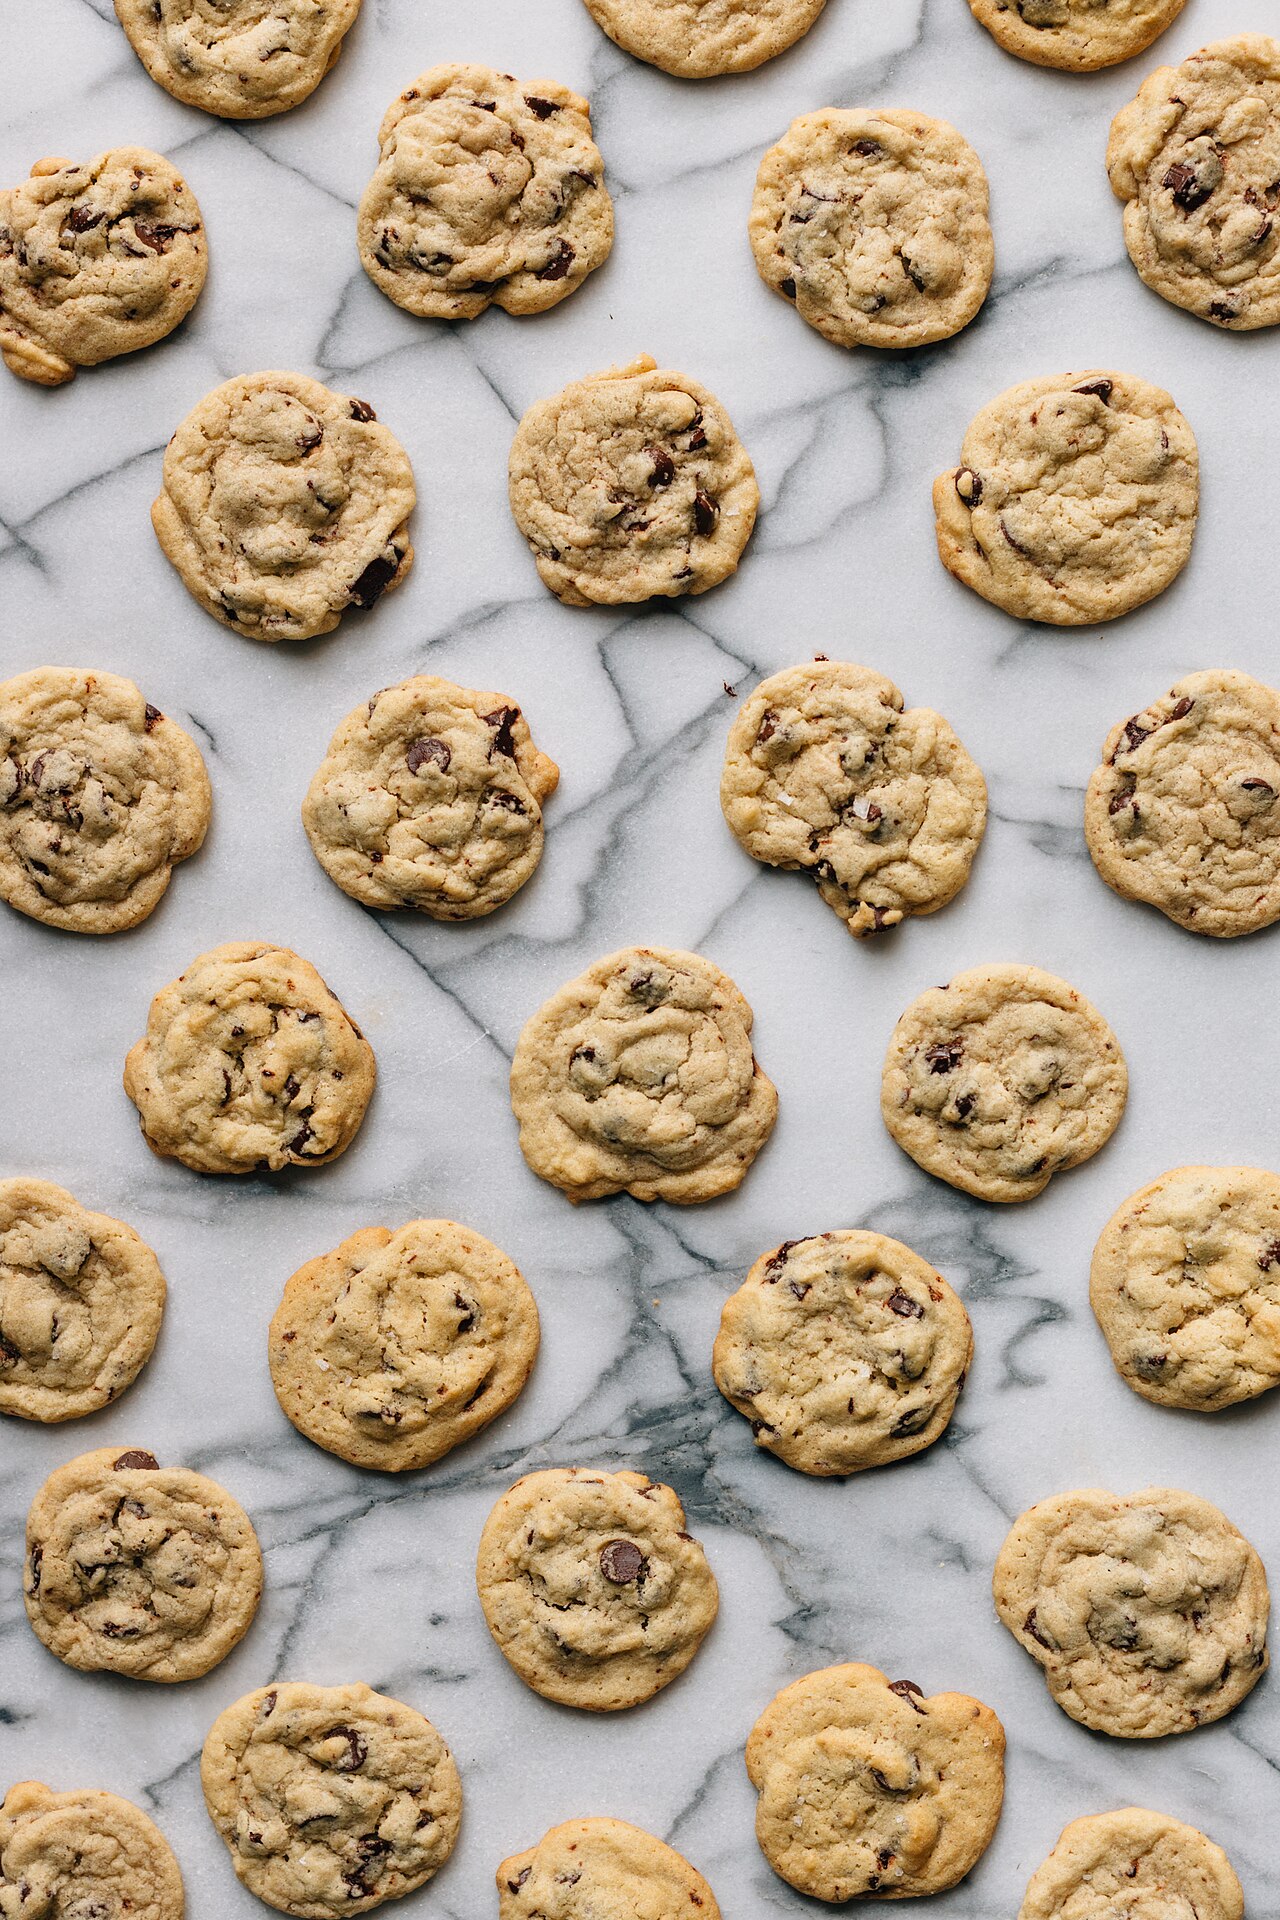
An AI-assisted editorial guide, not independently kitchen-tested. The photograph is a serving example. How we prepare and correct our guides.
For safe handling, consult FDA guidance. Send recipe corrections by email to ZYS10.