This version uses cold butter pastry, evenly sliced firm apples and a starch-thickened filling. The decisive cues are bubbling in the center and adequate cooling, not merely a beautifully browned top.
Deep-Dish Apple Pie
Budget at least 1 hour pastry chilling and about 2 hours pie cooling before clean slicing. A deep warm center may need longer to settle.
Planning totals add preparation, cooking and listed waits. Overlapping stages may shorten the schedule; ingredient and equipment differences can lengthen it.
Ingredients
For fractional eggs, beat an extra egg or yolk and measure the required fraction.
Times and base yield refer to the original recipe. Scaling quantities does not automatically change pan size, temperature or cooking time.
Step-by-step method
The steps describe the base batch (1 deep 23 cm pie, 8 slices). The calculator changes the ingredient list only; amounts written in the steps, equipment and timing remain for that base batch.
Step 1
Rub or pulse butter into flour and salt, leaving small visible pieces, then add cold water to bring together.
Step 2
Divide into two discs and refrigerate for at least one hour.
Step 3
Slice apples evenly and toss with sugar, cornstarch, cinnamon and lemon juice.
Step 4
Roll one pastry disc into a 23 cm pie dish and fill with apples.
Step 5
Cover with remaining pastry, seal edges, cut vents and brush with beaten egg.
Step 6
Bake at 200°C / 392°F for 20 minutes, then 180°C / 356°F for 40–45 minutes until the filling bubbles through the center vents. Cool on a rack for about 2 hours before slicing; a deep warm center may need longer.
Why this version works
Keep visible butter pieces in the pastry
Rub or pulse the cold butter into flour until the mixture contains a range of small crumbs and pea-size pieces. Those distinct pieces help separate layers as the dough bakes. Add cold water gradually and stop when the dough can be pressed together; it does not need to look as smooth as bread dough. A short squeeze is a better test than prolonged kneading. Divide, flatten into discs and chill so the moisture distributes before rolling.
Choose apples that contribute both shape and flavor
The 1.2 kg apple quantity is the whole-fruit shopping weight before peeling and coring; keep the prepared slices similar in thickness. Firm baking varieties hold recognizable pieces, and a mixture of tart and sweeter apples gives more contrast than sugar alone. Very soft eating apples can collapse and release a different amount of liquid. Slice roughly 5 mm thick rather than leaving large chunks that may remain firm after the surrounding pastry has colored.
Give the pastry a supported path into the dish
Roll from the center outward on a lightly floured surface, turning the dough so it does not glue itself to the worktop. Lift with a rolling pin and ease it into the dish without stretching. Stretched dough pulls back during baking, exposing the filling and weakening the rim. If it softens or the butter looks greasy, pause and chill it. A cool relaxed dough is easier to work than one repeatedly patched with extra flour.
The filling needs heat in the middle
Cornflour thickens only after the juices become sufficiently hot. Look for active bubbles coming through a central vent, not just at the edge of the dish. The initial hotter oven helps set the pastry, while the lower second stage gives the apples time to soften. Set the dish on a rimmed tray to catch drips. If the rim browns early, shield it loosely with foil rather than removing the pie while the filling is still undercooked.
Cooling is what makes a slice behave
A very hot pie releases fluid freely even when the filling has cooked correctly. Let it cool until warm or room temperature before the first clean slice, allowing the starch-thickened juices to settle. Do not seal the hot pie under a tight cover, which traps steam against the pastry. If serving warm later, reheat individual slices briefly. This gives more control than keeping the whole pie in the oven for an extended period and drying the rim.
Keep whole-apple weight separate from prepared slices
The shopping weight includes peel and cores, so weigh whole fruit according to the ingredient line before preparing it. Do not replace that convention silently with the same weight of already peeled slices, which creates a larger filling. Arrange slices to reduce large empty spaces without pressing them into a solid block. Keep the pastry rim free of filling liquid so it can seal, and cut center vents before brushing with egg. The egg is a surface wash; unused wash does not belong in the apple mixture simply because it remains in the bowl.
Ingredient choices and substitutions
Use firm baking apples and consider mixing a tart variety with a sweeter one. Avoid apples that collapse instantly into puree. Plain flour and cold butter make a tender crust without extensive kneading.
Fixes for this recipe
| What you notice | Likely reason | What to do |
|---|---|---|
| Liquid pours out of the first slice | The center did not bubble during baking or the pie was cut while very hot. | Allow a proper cooling interval. For the next pie, verify central bubbling before removal and do not increase starch blindly before checking the baking stage. |
| The pastry shrank down the sides | The dough was stretched into the dish or insufficiently rested. | Let rolled pastry relax and lower it into corners without pulling. A slightly larger overhang is more useful than stretching a circle that is too small. |
| The bottom is pale while the top is dark | The dish and oven position favored top heat, or the filling held a lot of moisture. | Use the lower-middle oven position and a fully preheated oven, protect the rim and continue until the base is baked. Dish material can change the necessary timing. |
Recipe-specific questions
Can I reduce the sugar without changing anything else?
A modest reduction is possible when using sweet apples, but sugar also affects the filling liquid and perceived acidity. Taste a safe piece of the raw apple to judge its natural sweetness, then keep the first adjustment conservative. Do not remove the starch simply because you reduced sugar.
Must I cook the apples before filling?
This recipe uses raw evenly sliced apples. Pre-cooking is a different method that can reduce gaps and improve moisture control, but it changes volume and baking behavior. Follow a fully specified cooked-filling variation rather than adding a long sauté stage without adjusting the rest.
Is a golden top enough to prove the pie is ready?
No. The filling at the center still needs to bubble and the base needs to bake. A dark rim can be shielded while the rest finishes. Removing the pie solely because the top looks attractive can leave firm apples and unthickened juices underneath.
Serving and storage
A small spoon of unsweetened cream or plain yogurt balances the filling. Serve warm enough to smell the apples but cool enough that the filling has structure.
Let the pie cool before loosely covering so trapped steam does not soften the crust. Refrigerate promptly when required by the filling or local storage guidance, and keep dairy accompaniments chilled separately. Reheat slices on a tray rather than microwaving for a long interval if crisp pastry matters.
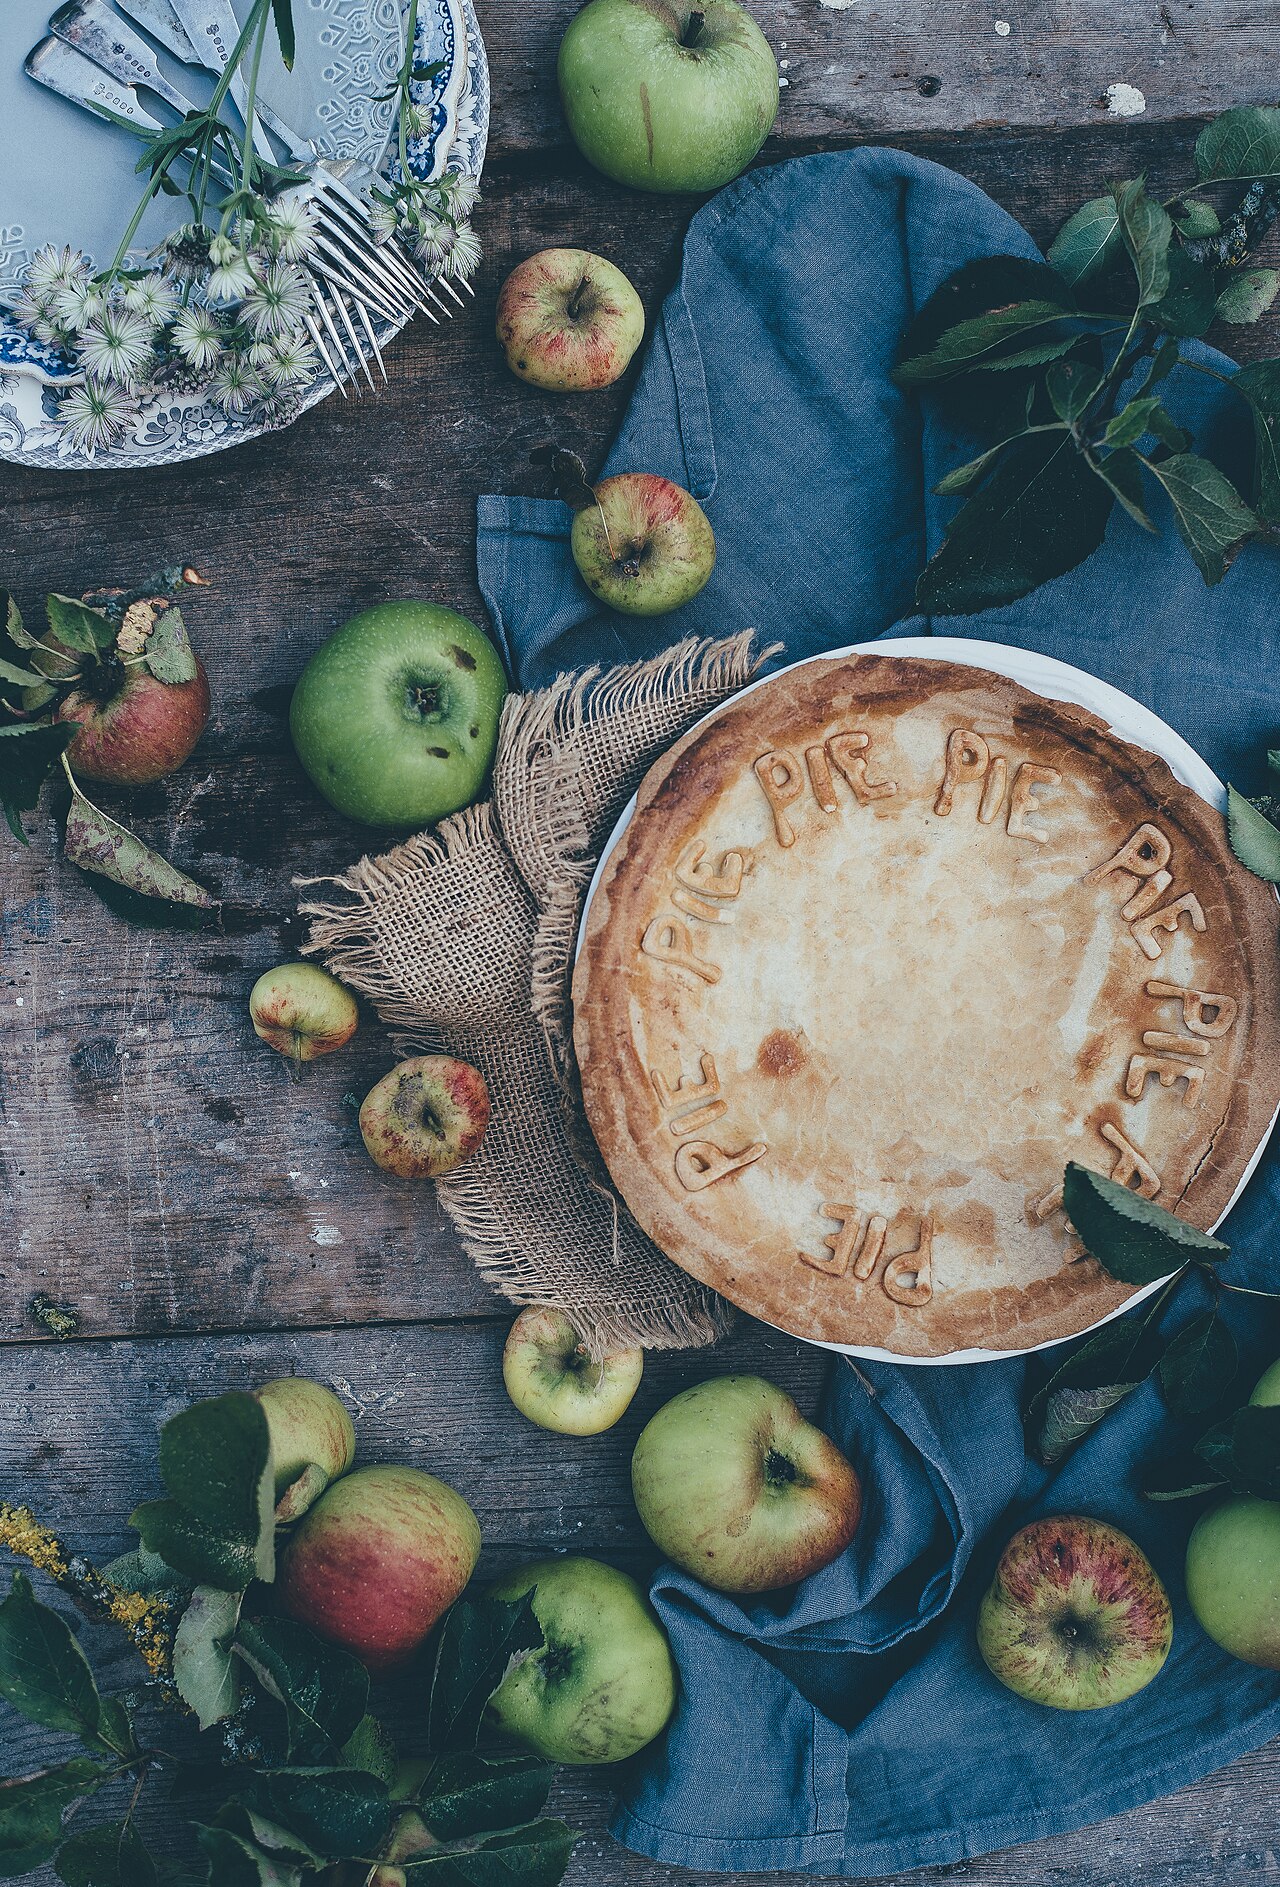
An AI-assisted editorial guide, not independently kitchen-tested. The photograph is a serving example. How we prepare and correct our guides.
For safe handling, consult FDA guidance. Send recipe corrections by email to ZYS10.